
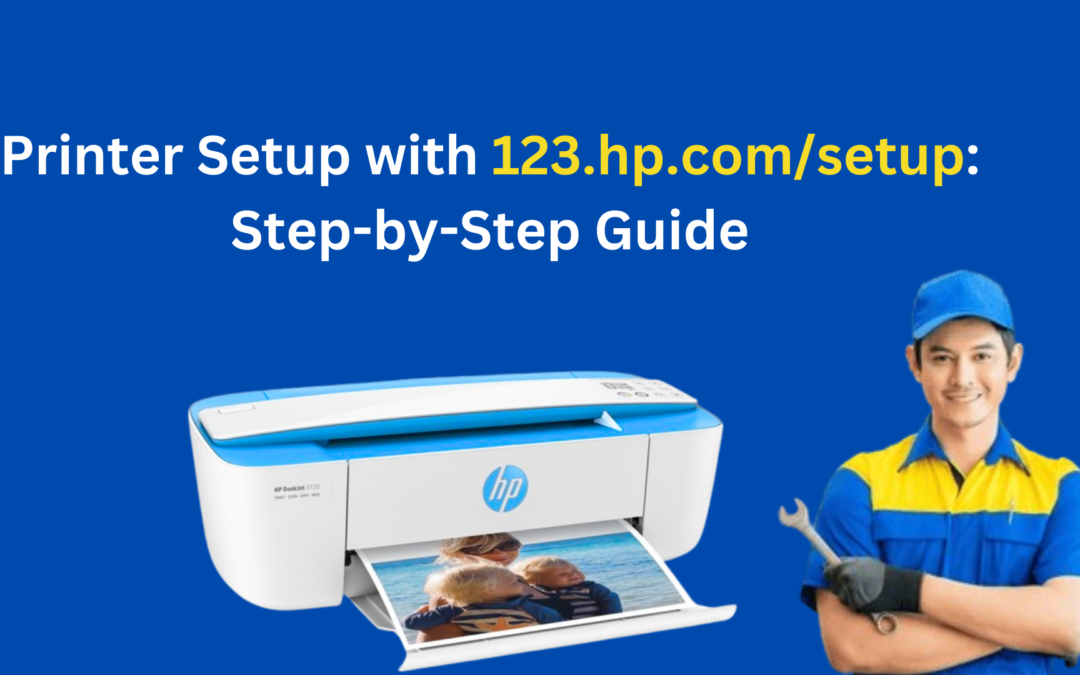
Setting up an HP printer is a crucial step to make sure easy printing operations. Whether you’re a home consumer or setting up a printer in your office, 123.Hp.Com/setup gives a problem-unfastened manner to put in and configure your HP printer. This manual will walk you via a detailed step-by-step method for putting in your printer with a wired, wireless, or USB connection.
Step 1: Unbox and Prepare Your Printer
Before you start the setup method, follow these preparatory steps:
Unbox the Printer: Carefully do away with the printer from its packaging and area it on a stable surface.
Remove Protective Materials: Peel off all tapes and packaging substances from the printer, along with inside the paper tray and ink cartridge region.
Plug inside the Power Cord: Connect the energy wire to the printer and plug it right into a strength supply. Turn on the printer by using the power button.
Install Ink Cartridges: Open the cartridge get admission to door, insert the correct ink cartridges, and make certain they may be securely in place.
Load Paper: Place a stack of undeniable white paper into the input tray, aligning it nicely with the paper guides.
Your printer is now physically ready for setup!
Step 2: Download and Install HP Printer Software
To permit printing and scanning capabilities, you want to put in the today’s HP printer drivers and software. Here’s how:
- Open a web browser (Google Chrome, Firefox, Edge, or Safari) for your laptop.
- Go to 123.Hp.Com/setup and enter your HP printer model in the seek bar.
- Click the “Download” button to get the encouraged motive force to your working gadget (Windows or Mac).
- Run the installer file and follow the on-display commands.
- Accept the terms and situations and proceed with the software installation.
- Choose your connection type (Wireless, USB, or Ethernet) all through the setup process.
- Complete the installation and restart your computer if precipitated.
- After set up, your printer software can be ready to use.
Step 3: Connect Your Printer to a Network
Depending on your favorite connection type, follow the steps given below to add your printer.
Wireless Connection (Wi-Fi)
- On the control room of the printer, navigate on Settings> Network Setups> Wireless Settings.
- Select the wireless setup wizard.
- Choose your Wi-Fi network from the available list.
- Enter Wi-Fi password and confirm the connection.
- Wait until the printer displays a successful connection message.
Alternative Wireless Connection Using WPS:
- If your router supports WPS (Wi-Fi Protected Setup), press the WPS button on your router.
- Press and hold the Wi-Fi button on your printer for a few seconds until it starts connecting.
- The connection should establish automatically within a few minutes.
USB Connection (Direct to Computer)
- Use a USB cable to connect the printer to your computer.
- Your system should automatically detect the printer and install necessary drivers.
- If the installation does not start, manually run the HP driver software from 123.hp.com/setup.
- Follow the setup wizard instructions to complete the installation.
Wired (Ethernet) Connection
- Connect an Ethernet cable from your printer to your router or network transfer.
- Go to the Control Panel at the printer and take a look at the network status.
- Ensure the printer has obtained an IP address from the network.
- Open the HP software on your computer and select “Add a network printer.”
- Once connected, your printer will be available on all devices within the same network.
Step 4: Perform a Test Print
After setting the connection, verify that your printer is working correctly by printing a test page:
On Windows, go to the control panel> device and printer, right-click on your printer, and choose a print test page.
On Mac, go to system preferences> printers and scanners, choose your printer, and click on the print test page.
Check for proper print quality, ink levels and alignment settings.
Troubleshooting of general setup issues
If you face any setup problems, try the following solutions:
Printer Not Found? Restart your printer, router, and computer. Reconnect the device to the network.
Wi-Fi Connection Issues? Ensure the printer is within range of the router. Restart your Wi-Fi and reconnect.
Driver Installation Fails? Check your internet connection and retry downloading the latest drivers from HP’s official website.
Paper Jams? Open the printer’s rear access panel and carefully remove any jammed paper.
Ink Cartridge Issues? Ensure cartridges are properly installed and not empty.
Conclusion
Setting up your HP printer with the use of 123.Hp.Com/setup is a simple and green procedure. By following those unique steps, you can easily connect your printer and begin printing with out hassle. If you revel in any problems, visit HP’s reliable aid web page for additional troubleshooting and assistance.
Your HP printer is now geared up to supply terrific prints for all of your personal and professional needs!